More Reasons Why Shooting in RAW is Good
If you are not shooting in manual mode, you are relying on the camera to decide how bright to make the picture. Even if you shoot in manual mode, you can sometimes misjudge how bright or dark the picture really is. Either way, once you get the photo on your computer screen you might want to adjust your exposure. The best place to adjust your exposure is when you are making edits to a RAW photo because the RAW format contains much more data than a JPEG for brightness/darkness. While it is always good to try to get the exposure as accurate as possible in camera, it is nice to know that you have a little leeway afterwards, if needed. The other thing we will discuss today is the Contrast adjustment. I find that I’m a sucker for contrast and this is one of the main adjustments that I will almost always make to a photo.
–>
If you are working in Photoshop Elements, like me, then here is a picture of the settings that we are discussing (circled in red). Other programs will have similar settings.
–>
Note that right above the exposure slider, there is an “Auto” button and “Default” button. If you press Auto, the program will automatically adjust exposure, contrast, highlights, shadows, etc. This can come in handy and you can make further adjustments from there, but if you don’t like what was done, just hit the Default button and it will take the settings back to normal. For the record, if someone says that a photo is overexposed, then it is too bright. If it is underexposed, then it is too dark.
When To Use
I almost always tweak my Exposure and Contrast a little. Many people will tend to slightly over expose in camera knowing that it is easier to darken the photo just a bit. A word of caution on Exposure: you can’t fix bad lighting with the Exposure tool. If you take a photo on a cloudy day or at noon when the light is flat, don’t expect the Exposure tool to make your photo look like you took it during the golden hour. A couple of weeks ago I showed a drastic example of a photo I took of a jet that was extremely overexposed. I was able to bring down the exposure to make the jet look decent, but the lighting was still not the best so I never really used that photo for anything.


Contrast: this is great for giving your photos a little extra pop. If you are taking a portrait, contrast makes the person stand out from the background just a little. Same thing with architecture and landscapes. Adding a little contrast will give depth to your edges and shadows and make your shot stand out just a bit more. Most of the time, a photo straight out of the camera will look a little flat but especially when you brighten it a little in Photoshop. Using contrast will fix that. Careful not to use too much though. I have heard that editing is kind of like applying makeup. You don’t want your photos to look like a girl in middle school who applies too much mascara.
Below is a photo of a yellow umbrella with a red brick background. The one of the left is straight out of the camera (ignore the weeds in the bottom corner). The yellow is kind of pale and the red brick has almost a white shine to it. Definitely not how it looked in real life. The lighting is already kind of dark, so I don’t want to decrease the exposure on the photo. Instead, I increased the contrast. I actually increased it a lot…+42. This is a lot more than I would increase the contrast on a person or some other object. I shot this in the morning and it was pretty cloudy so the light was flat. See how the yellow brightens up? Individual bricks stand out better and you can see that the wall is not extremely well built the in the picture on the right. Adding contrast definitely brought out the depth of the photo on a cloudy day.


Wrap Up
It is always good to get your exposure as accurate as possible in camera, but by shooting in RAW you have a bit of a safety net to adjust during post processing. If unsure, go for a little bit of overexposure in camera and the adjust down in your editing software. Use contrast to help add depth and make your subject pop out of the frame. Don’t go overboard with the contrast though.
Here is a tutorial on even more ways to adjust lighting and exposure in Photoshop Elements.
Do you have any success or horror stories? Feel free to post your comments and questions to this post and I’ll be happy to discuss them. Happy shooting!
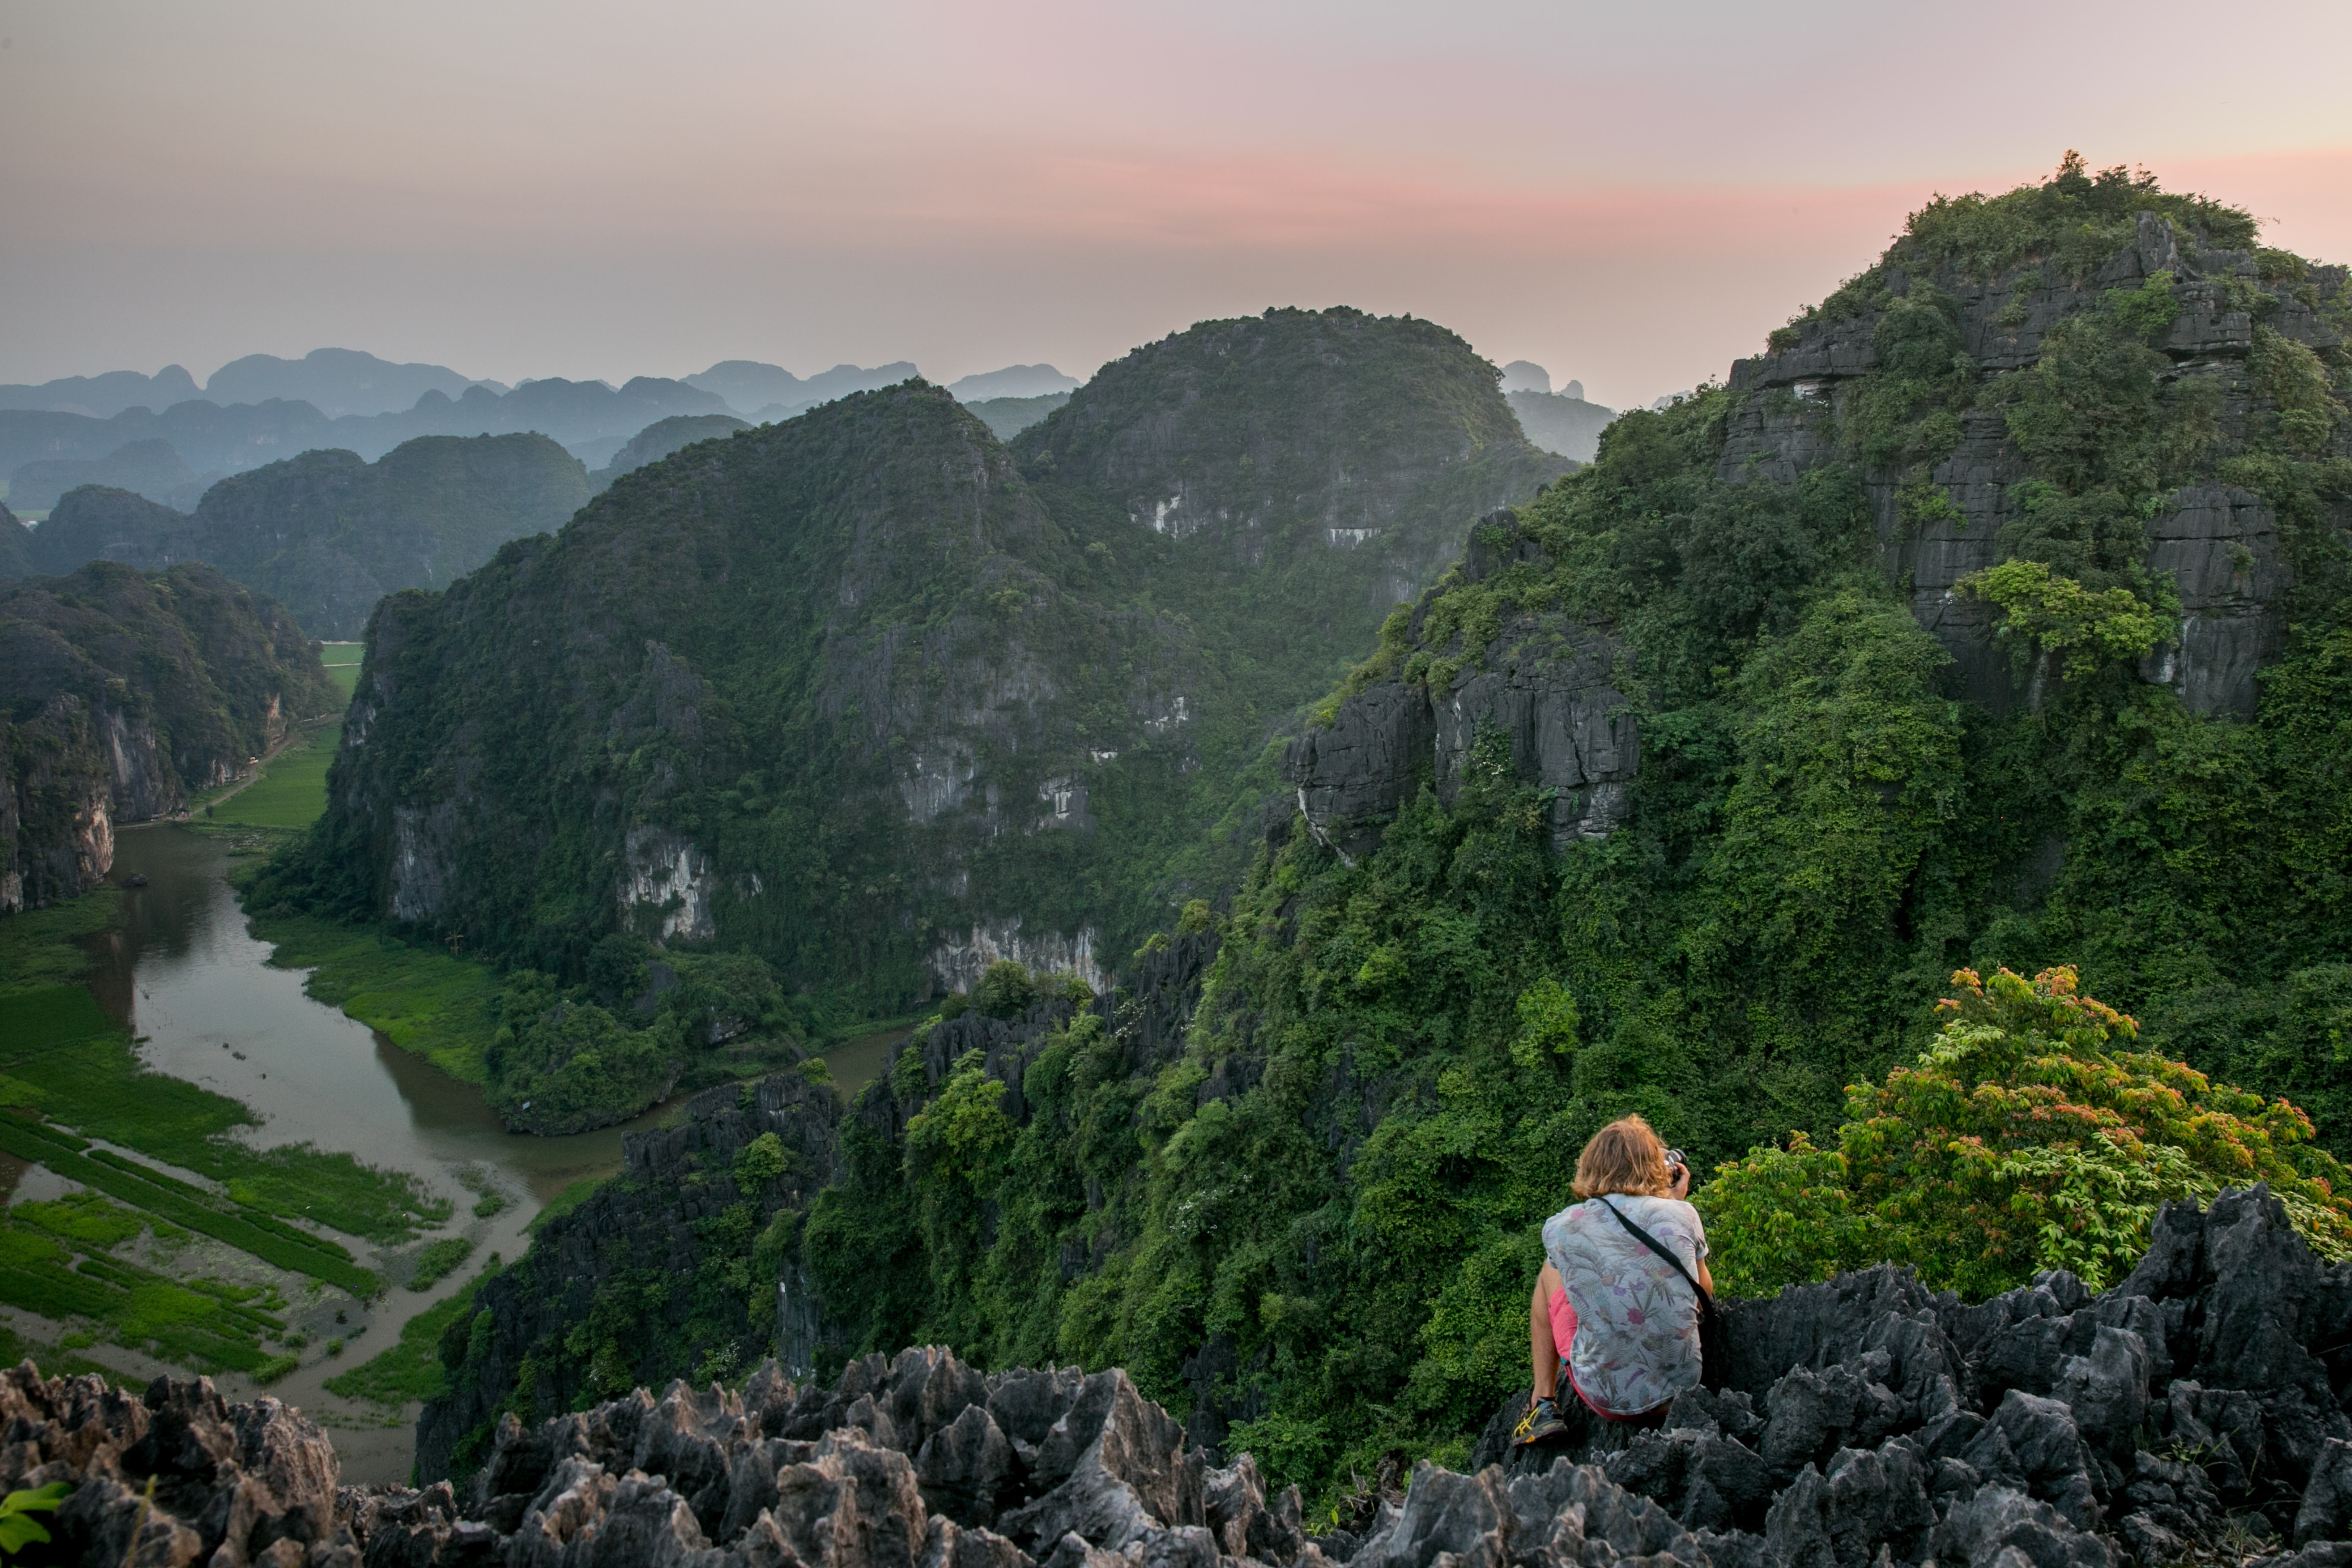
Bryan Rasmussen is a landscape/nature photographer at heart, although he has been known to include people in his photos from time to time. He owns Chiseled Light Photography and is also a freelance photographer for a local newspaper. Check out more of his work at chiseledlight.com and follow him at facebook.com/ChiseledLight. He is also on Instagram, Flickr, and Fine Art America.