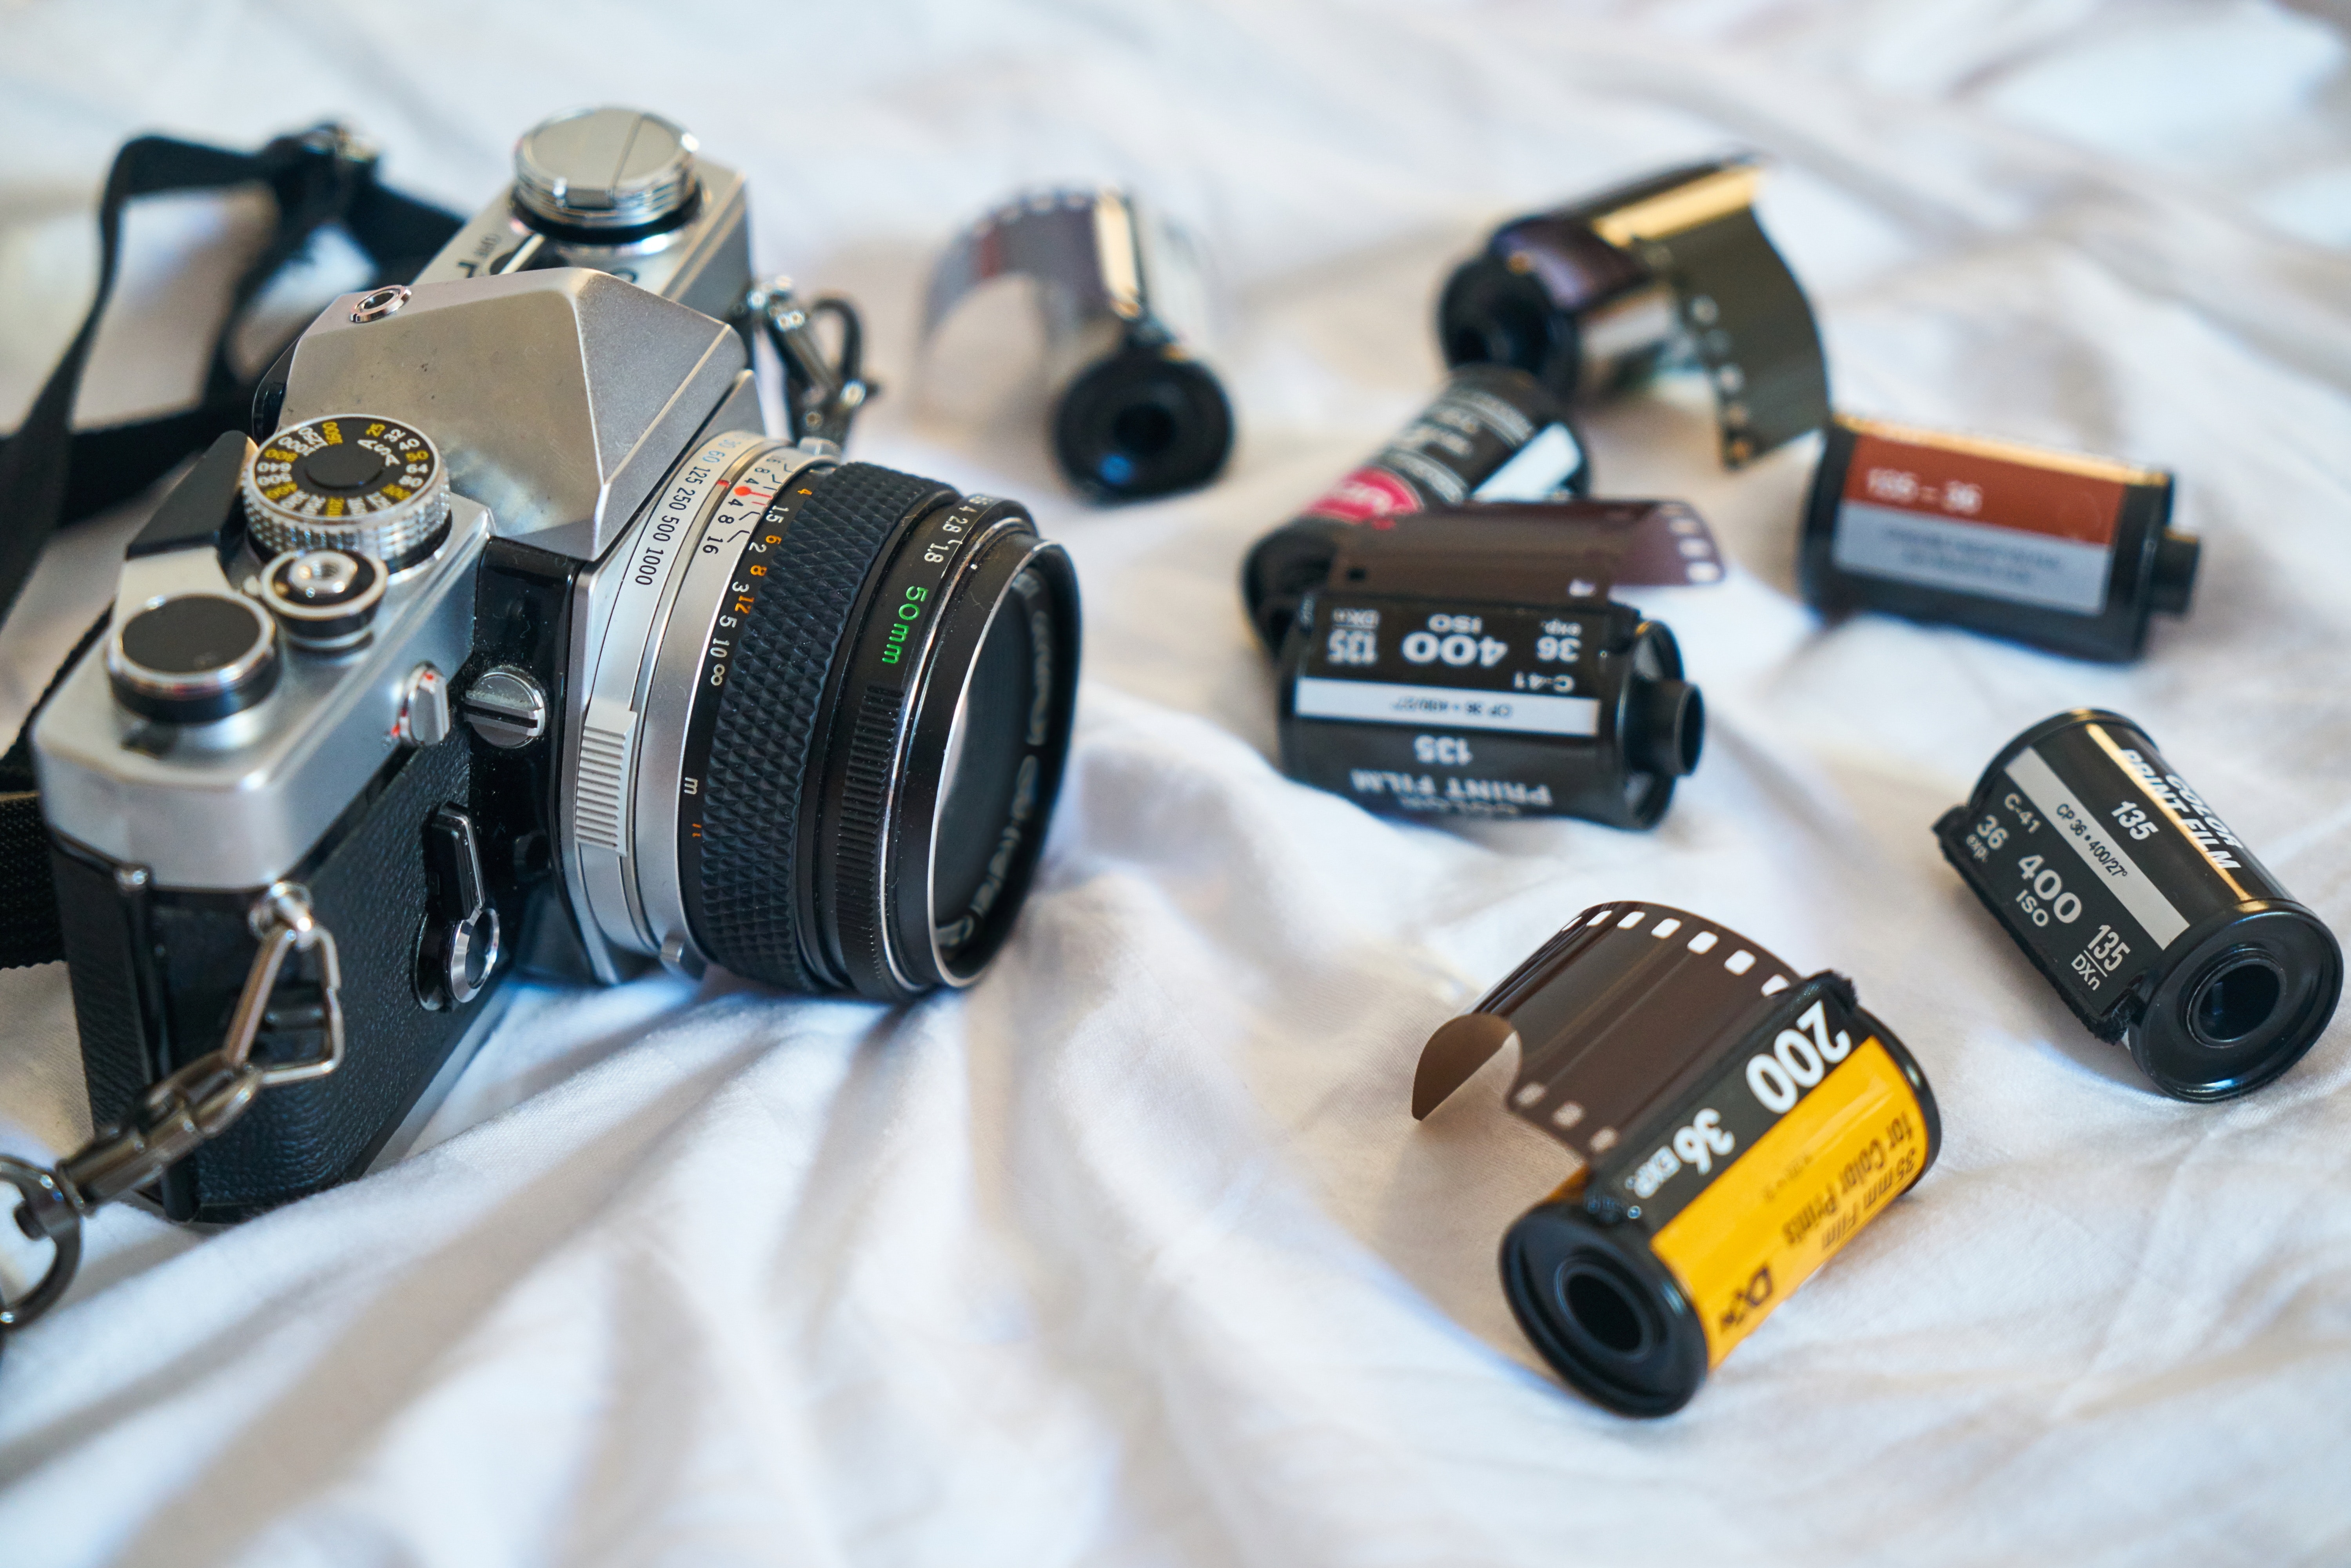
If you’re like me you’ve been wanting to develop your own film, but would benefit from a simplified process. Cinestill has you covered! At least that is what they promise.
I love film photography, but initially I outsourced the development/scanning process to my local camera shop. After some time, I wanted to take more control and save some money. I started off with scanning negatives myself and saved myself about $10 a roll. This left developing film —black and white film anyway. What held me up?
The regular development method seemed like a lot of steps for someone trying it out for the first time. The steps weren’t complex, but combined start to finish it seemed like a lot to take on all at once.
The first part I had practiced quite a bit. All with eyes closed and then in a light proof bag:
- Open film canister.
- Load film on to reel
- Insert reel into and close tank
Then the usual process is to measure and warm the chemicals.
- Measure and warm developer bath
- Timed agitation as instructed
- Measure and warm stop bath
- Timed agitation as instructed
- Measure and warm fixer bath
- Timed agitation as instructed
- Washing
- Drying
To the seasoned film developer this is fine, but add the steps above and this all seemed a bit overwhelming to me for a first time run. Here is where Cinestill steps in. The promised new workflow:
- Measure and warm Cinestill Df96 Monobath
- Timed agitation as instructed
- Washing
- Drying

I am realistic. Was not expecting that this process would match or even be superior to the established multi-bath process. Good enough was the goal. How good would determine if this would be a stepping stone to the multi stage process or my preferred process.
How did the processing go?
I am glad to report that the process was a success. The result was developed negatives. Will add my shopping list below if you are interested in giving it a try.
- Practice. Practice. Eyes closed, then in the bag practice opening the film canister, loading the film on to the reels, and inserting the reel in to the tank. More than anything else these were the largest risk points.
- Reading is fundamental. There are instructions on the bottle, and on the web page, but much more thorough downloadable instructions are available on that same page. These PDF instructions were especially crucial for my choice of film, Kodak TMax P3200.
- YouTube is your friend. Great walk throughs were available for loading film on the reels and developing film.
- Much more economical. A bottle of Df96 is just under $20 and if used within a month of opening many rolls can be developed (adjustment in development for each roll). Development alone at my local shop is around $10. So past 2 rolls of film the monobath pays for itself.
- Takes much less time. While machine developed color film has a one day turnaround B&W has a week or more waiting time at my local shop. WIth monobath you can develop at home anytime you like.
What about after the scan? None of this matters if the resulting image is unacceptable. Happy to report that the resulting images were wonderful. This roll of Kodak TMax P3200 delivered every bit of the grainy, but at the same time sharp wonderfulness I was expecting. A couple of sample shots below and here is a link to more shots.


Here is my shopping list for those starting from scratch like I did:
- Cinestill Df96
- Thermometer
- Any will do long enough for the bottle.
- Development Tank
- Changing Bag
- Scissors
- Any will do. Better if not sharp nosed since it goes in the changing bag.
- Bottle Opener
- Used one on a bottle opener around the house.
- Measuring Cup
- Funnel
- Any will do.
- Plastic tub large enough to hold the bottle of Df96
- I used one I found in the kitchen
- Clips to hang film to dry


