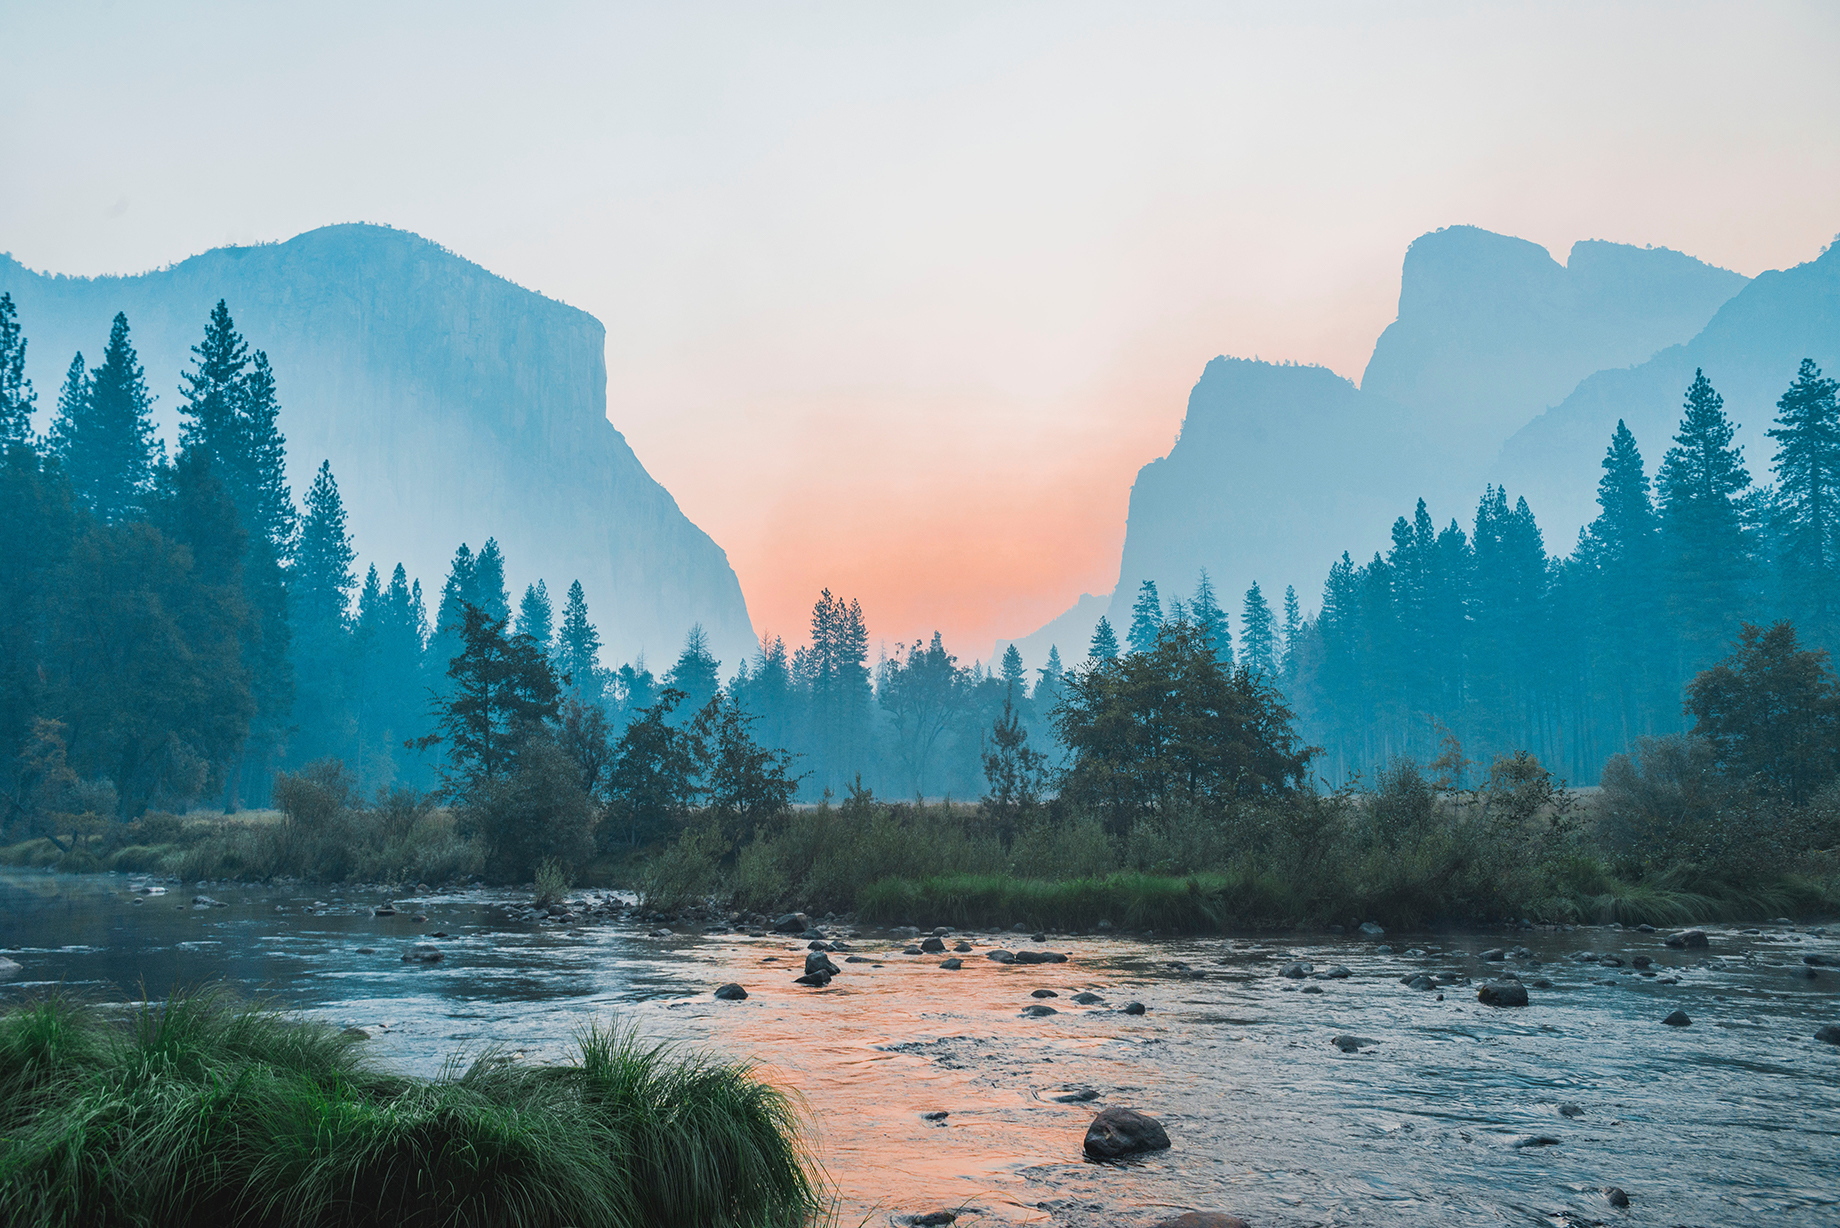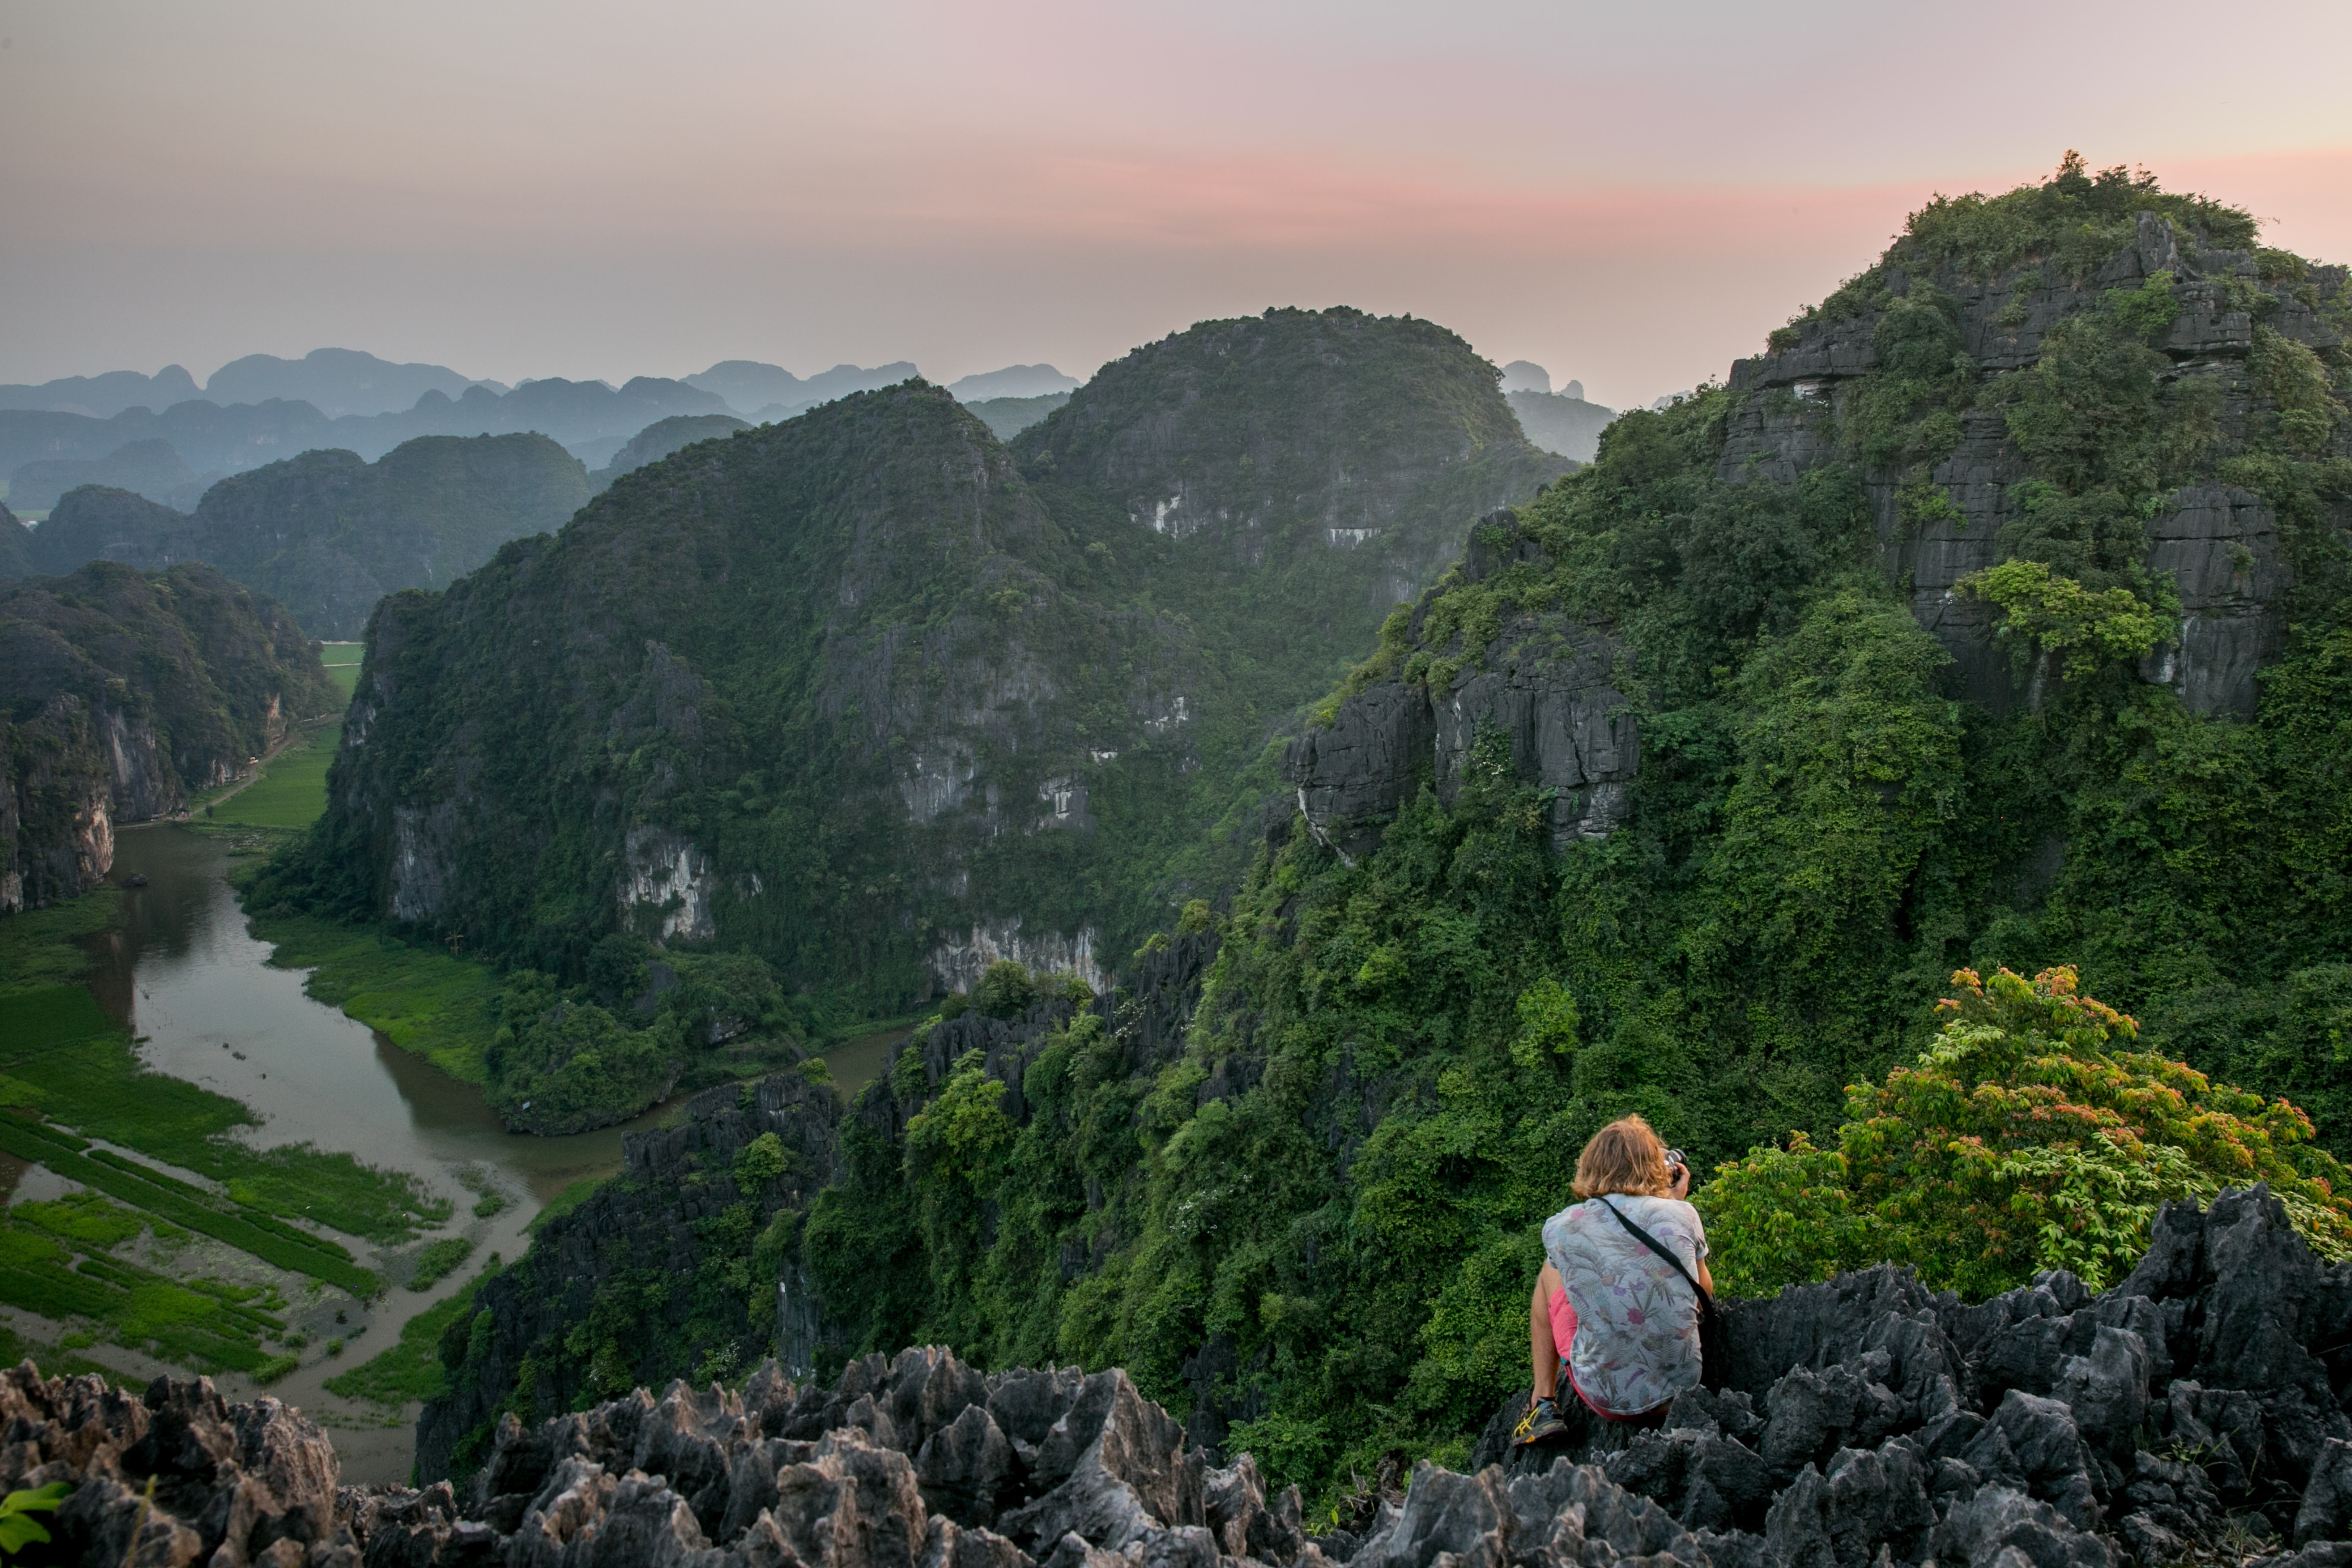
The best landscape photography can (and should) transport you. When you look at a pristine landscape photo, it’s almost like looking into a fantasy world. It’s hard to imagine not being right there, in a mist-filled valley as the sun comes up and warms the dew off of the trees.
It’s not as easy as it sounds, though. Not just anyone can go shoot amazing landscapes out their back door. Read on for some tips on getting that shot that might end up somebody’s computer wallpaper someday.
Ansel Adams
Of course, it’s hard to talk about landscape photography without mentioning one of the most well-known photographers in the field, Ansel Adams. An absolute inspiration to many shooters of nature and other subjects, his most well-known photos are full of deep contrast and clarity.
Adams is quoted as being the one who said “You don’t take a photograph, you make it.” Throughout his work, it’s clear to see that he truly believed that concept. Spending countless hours in the darkroom to perfect each print, he developed the Zone System to take some of the guesswork out of creating photographs. With the Zone System, it became possible to measure and standardize the luminance values of your photo before even releasing the shutter.
Adams also believed that you should shoot a scene how it feels as opposed to how it looks. It’s hard not to feel some kind of emotion when you’re standing and looking out across a vast distance. Most of the time, conveying that feeling of awe to your viewer is more important than documenting what it looks like.
Don’t Be Lazy

Shot on Sony a7sii, Minolta MD 35-70 f/3.5 Macro
Gorgeous landscape photos don’t happen by accident. More than many other types of photography, much of the work in creating epic vistas takes place before the shutter is pressed. It’s vital to plan out your location and the time of day you want to shoot so that your light is perfect. Even then, you may want to wait for the opportune moment when the fluffy clouds are just right or there’s some wildlife in the frame.
Find the right location first. As Ansel Adams once said, likely with a smile, “A good photograph is knowing where to stand.” Whether this means hiking to the top of a mountain or finding the perfect clear spot in some trees that overlook a lake, the idea is the same. Sometimes it takes a little extra effort to get to that perfect vantage point.
Also, when it comes to finding the perfect spot, try to venture off the beaten path. Sure, many people have seen the face of Yosemite’s Half Dome, but most people see it from the same angle day in and day out. Try to present a unique view to show the viewer something they haven’t seen before.
Right Place At The Right Time

Shot on Sony a7sii, Minolta MD 35-70 f/3.5 Macro
Once you’ve got your location, it’s worth doing some extra planning to choose the right time of day to take your shots. Since you’re outside, you’re going to be at the mercy of the sun and the weather. The most flattering light is going to be angled and slightly filtered, meaning your best photos are mostly going to come from early morning or late evening. Midday sun is often too bright and strong, blowing out any details and subtlety in a landscape image.
What you likely want to aim for is the golden hour, or the first and last hour of sunlight in the day. This sunlight is low and the filtered color appears softer and warmer in color. In the morning, you can catch a beautiful sunrise that melts away the morning fog, or you can wait for twilight when wildlife is moving from place to place.
Keep Your Composure
Keeping your composition in mind, you’re going to want to take your viewers on a journey. Let their eyes bounce from element to element in the image as if they were there in person.
You can achieve this by keeping your aperture small like f/16 or higher. This allows you to get more of what’s in front of the camera in sharp focus. A wide aperture with lots of blurry bokeh around your subject can be beautiful in the right context, but ultimately closes down and isolates your subject.
By having foreground elements like grass or rocks that are as clear as the faraway clouds and mountains, you give your image a sense of great depth. It allows the viewer to look from place to place and really tour the landscape on their own schedule like they’d do if they were there in person.
Here’s The Gear

Your ideal landscape images have a ton of details. Certain types of photography don’t require every megapixel or speck of film grain that you can possibly achieve, but landscape photography is different. High-resolution digital cameras like the 50-megapixel Canon 5D S, the 61-megapixel Sony a7R IV or the 45.7-megapixel Nikon D850 would really shine here. There isn’t a required minimum resolution of course, but the more you can squeeze out of your budget, the better. A Fujifilm X-T2 would work just fine for social or website sharing.
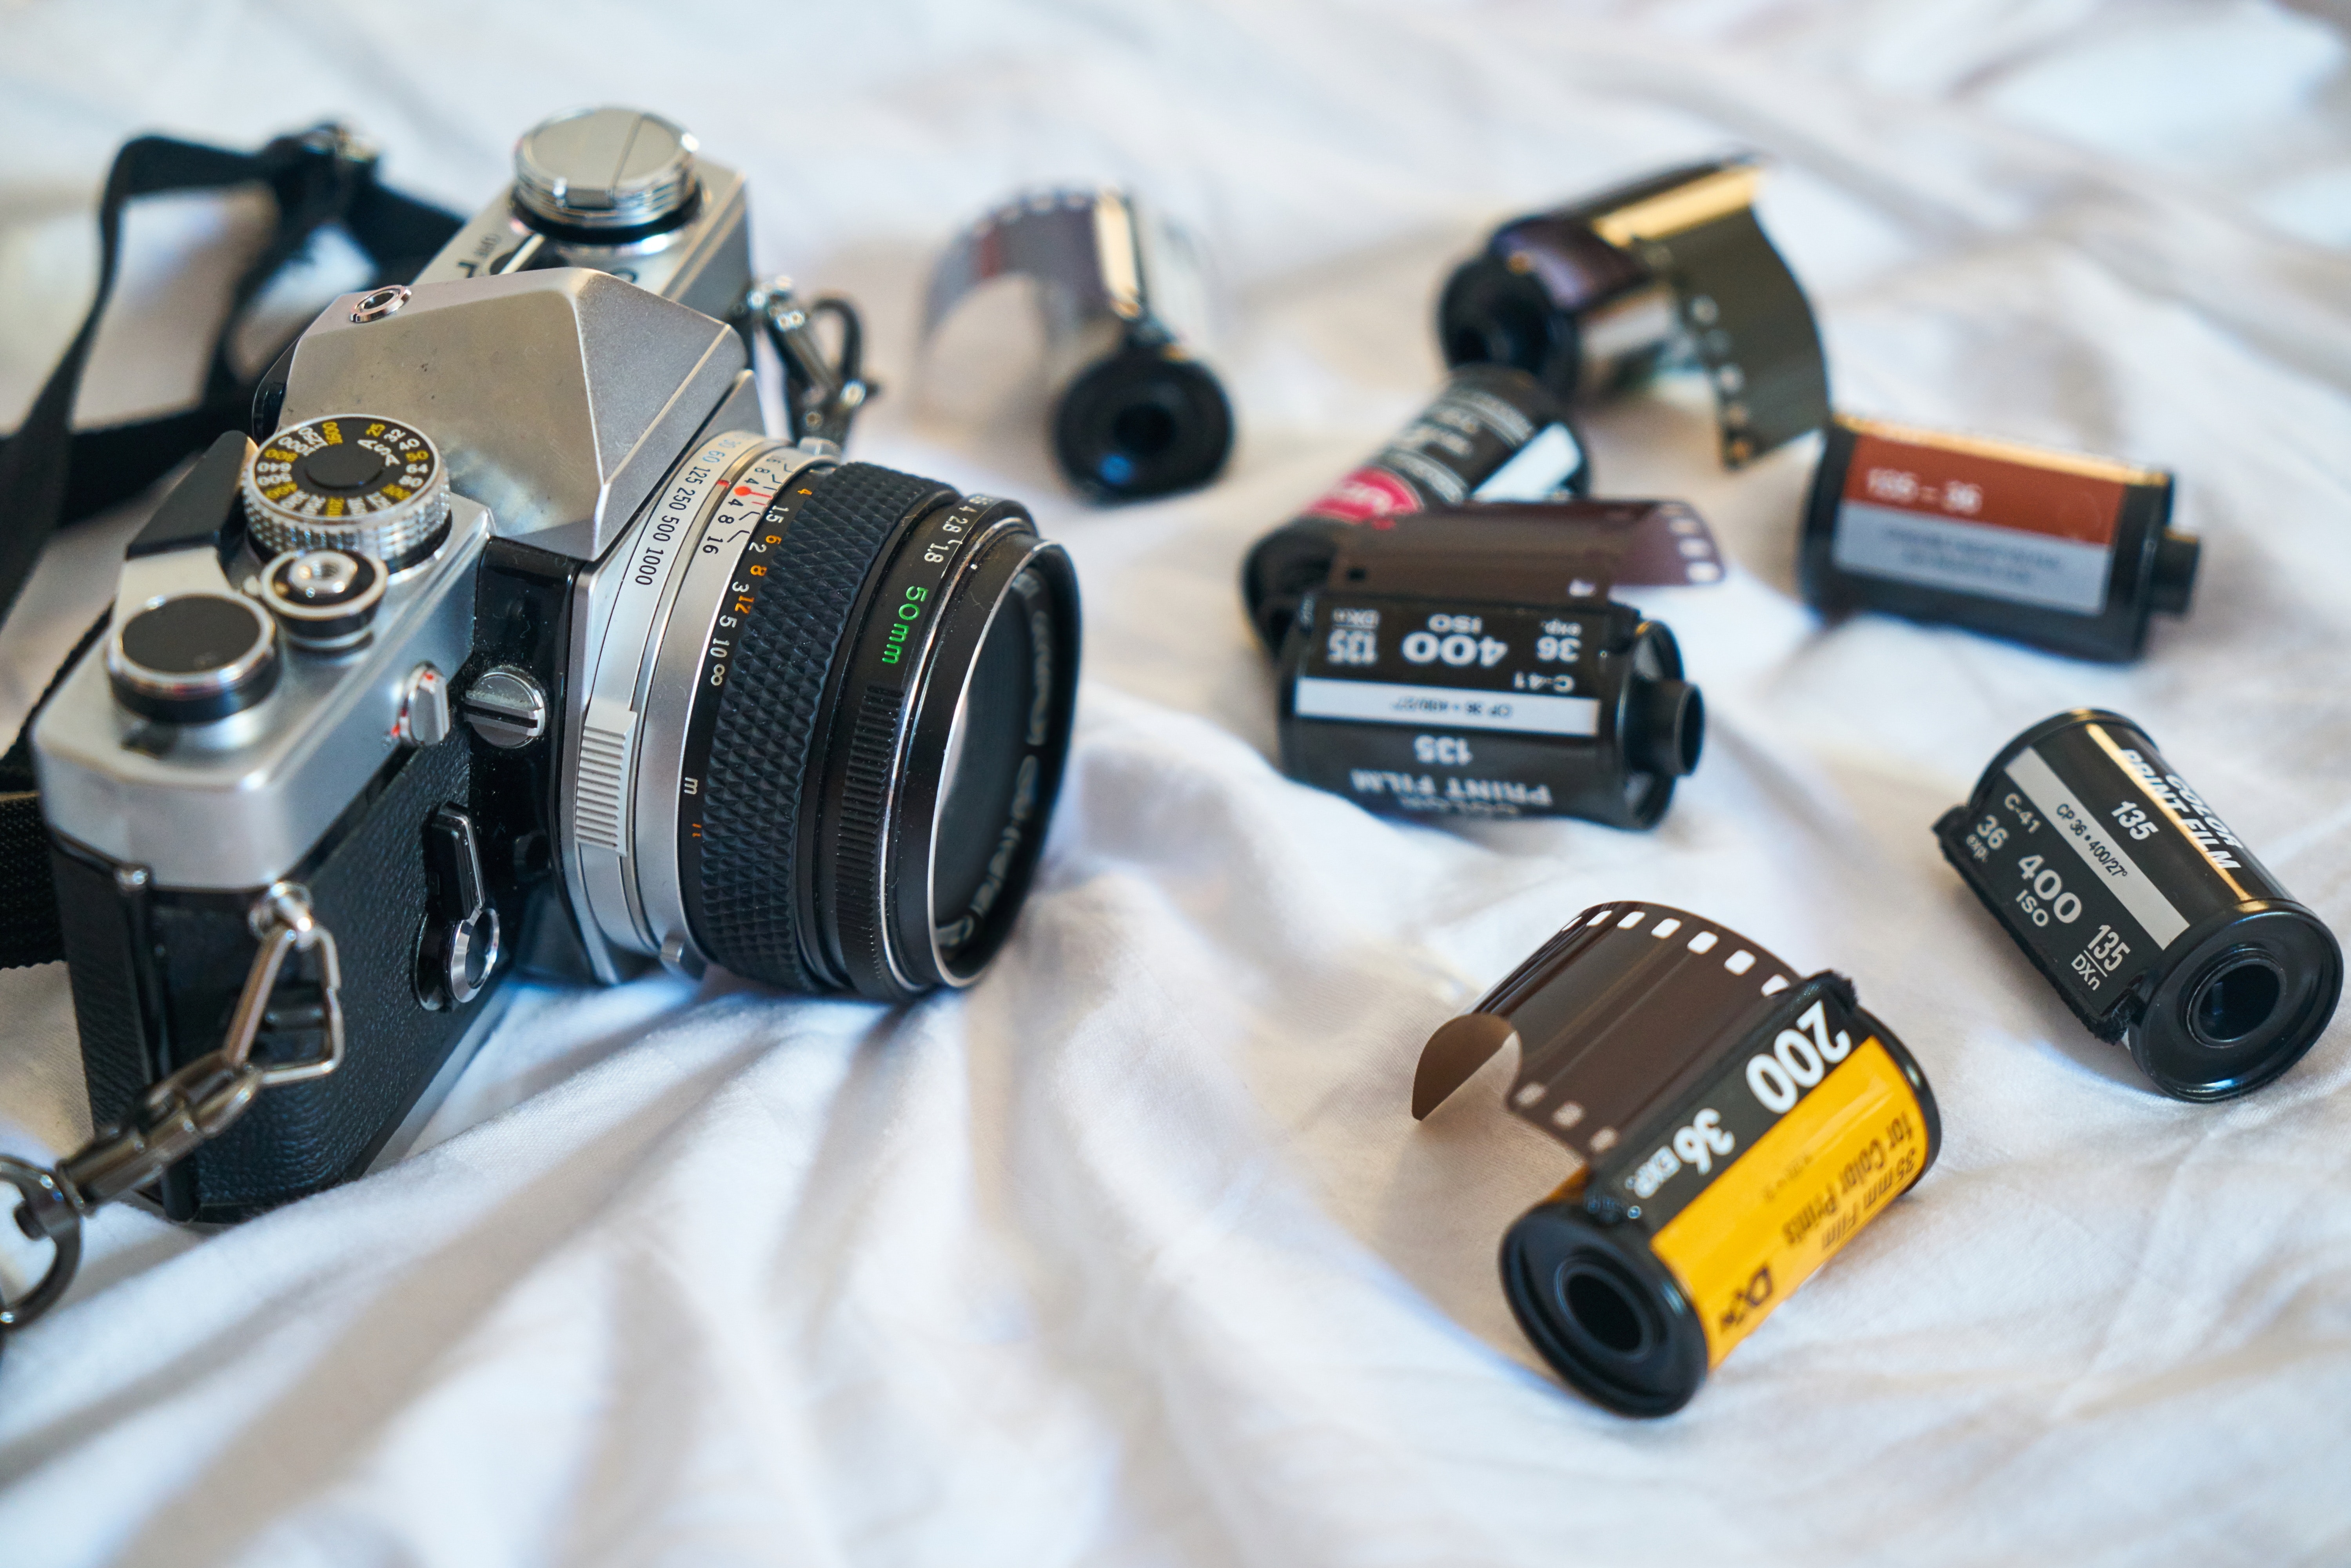
There’s nothing quite like shooting nature on film, though. The organic process feels more connected to the scenery if you ask me. Usually, any 35mm body will get the job done as long as you remember to use a UV filter to cut down on glare from the sky. If you want next-level landscapes, though, try a medium-format Contax 645 or a Pentax 645NII. Don’t forget, both of these models require additional viewfinders and film backs.
Our buddy Ansel, of course, shot his landscapes using a 4×5 view large format camera. If you haven’t tried large format film photography in the past, this is a perfect way to start. The gargantuan film negative produced can capture an absolutely stunning amount of detail. It’s also pretty much the ultimate photography experience if you’re up for it.

While it may seem like wider is always better when it comes to landscape lenses, this isn’t the case. A 14mm prime lens will allow you to get up close and personal with some things, and they’re great for astrophotography. However, you can get some truly compelling images with a 70-200mm zoom by compressing the background and making it seem like a mountain in the background is overwhelmingly huge.
Whichever lens you use, it’s wise to bring a tripod along with you. Even if you aren’t a fan of lugging extra equipment along, a tripod will stabilize your camera and make it much easier to make tiny adjustments like keeping your horizon level. A small compact tripod like the Sirui A1005 would be perfect for a lightweight hiking setup.

I’d be doing you a disservice if I didn’t talk about filters for a minute. A circular polarizer can be a godsend to landscape photographers. They’re great for reducing reflections in water sources, and can also cut the bright UV glare of skies to make them a deeper blue. A well-utilized polarizer can also cut reflections on tree leaves, making them appear greener.
Neutral Density filters are also a great addition to the landscape photographer’s kit. By adding an ND filter, you can keep your camera’s shutter speed open longer in order to smooth out the waves in those flowing water sources. If shooting in black and white, consider adding a few color contrast filters to your kit as well.
Find out more about ND filters & Polarizers here, or Color Contrast filters here.
For The Most Digital Detail

You’re probably going to want to shoot your landscapes in a low ISO, once again preserving as much detail as you can without letting the details get muddy. I also strongly suggest shooting your landscapes in RAW digital format, provided your camera allows it. RAW format is essentially an unprocessed file that holds most of the data absorbed by your camera sensor, as opposed to JPEG files which have had color, sharpening and other processes applied already.
Shooting in RAW format adds an extra step for you in the processing phase, as you’ll have to select what changes to make. However, it preserves more information from the original image, giving the shooter more flexibility and control to adjust their files any way they like.
I say this with a warning, though.
HDR—or High Dynamic Range—photography is best used sparingly. This is really a matter of opinion but I enjoy seeing photos that are based in reality. Many overprocessed HDR photos tend to go beyond this threshold of possibility and start to look like if you could give images some version of bad plastic surgery.
Go easy on the HDR, folks. Go shoot some landscapes.


