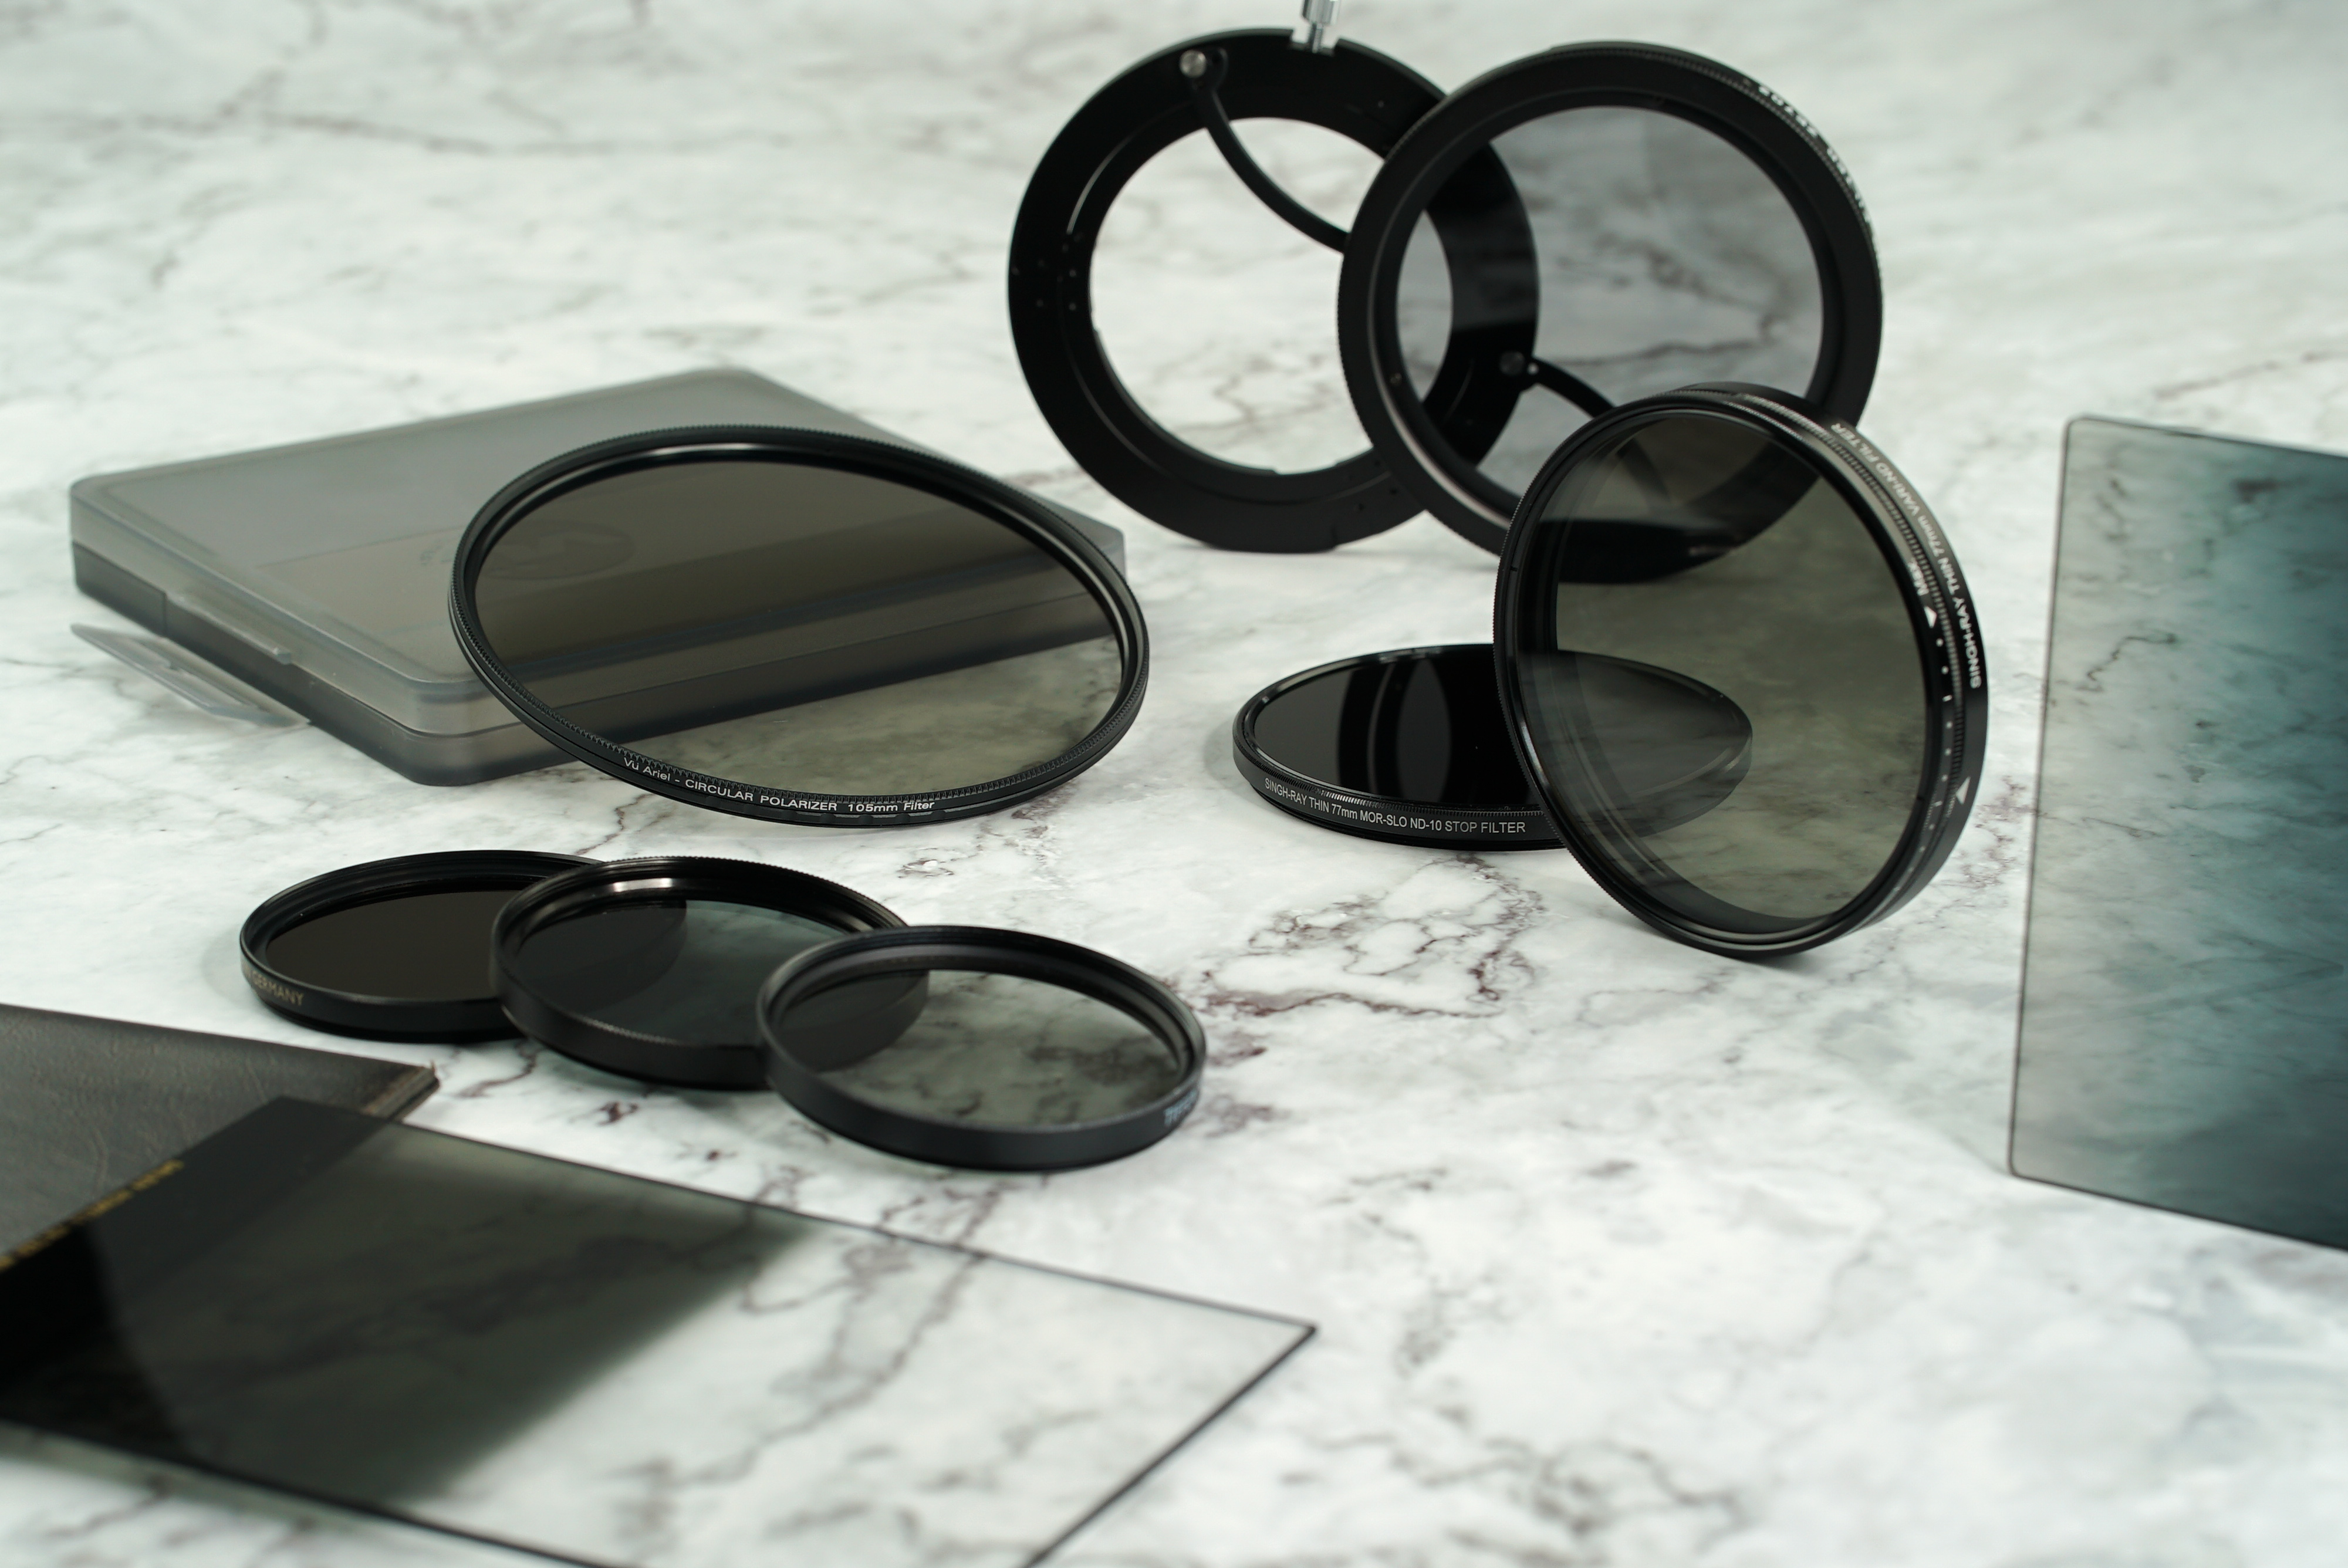
In our last segment, we discussed UV filters and clear filters used for protecting the front element of your lens while shooting. This time, let’s dig a little bit deeper into some filters that affect your exposure. These may not give any wild special effects or change the color of your images, but ND filters and polarizers can have a tremendous impact when used in the right shooting scenarios.
 What is an ND filter?
At their most basic level, ND —or Neutral Density— filters are like sunglasses for your camera. They are designed to cut the intensity of all wavelengths of light equally so that your image doesn’t have a particular color cast when used. In essence, they are ‘neutral’ in color. By using an ND filter, you give yourself a way of turning your exposure down without having to adjust your shutter speed, aperture, ISO setting, or manipulate the available light.
Why wouldn’t you just adjust those other settings, you ask?
Let’s say you are out in the sun and you want to take a photo of a flower. You’re shooting on film so you can’t adjust your film sensitivity, and you want to achieve a shallow depth of field to make this flower stand out. Opening your aperture wide, you realize that your vintage film camera’s shutter speed doesn’t fire quickly enough for you to compensate for the extra light. Adding an ND filter in this scenario would allow you to cut the available light so you can open your aperture wider.
Alternately, you may want to photograph a waterfall or flowing river and show a strong motion blur on the water. An additional ND filter would allow you to have your shutter open longer without overexposing the photo. Including an ND filter is like adding another vertex onto your exposure triangle, giving you more options to tweak your photo exactly how you like.
What do the numbers mean?
Not content to have one consistent numbering system, some brands have different labels to tell you how much light their filters will cut. For example, Lee and Tiffen brands will designate a filter an “ND 0.3” whereas the same strength from Hoya or B+W will be called an “ND2” filter.
Each step usually represents a full F-stop. There’s a little bit of math involved here, but here’s a quick breakdown.
ND2 —> ND 0.3 —> 1 F-stop
ND4 —> ND 0.6 —> 2 F-stops
ND8 —> ND 0.9 —> 3 F-stops
ND16 —> ND 1.2 —> 4 F-stops
And so on. For each step up, the light is cut in half. If your original shutter speed is 1 second long, adding an ND2 (or ND 0.3) filter will allow you to stretch that to 2 seconds. An ND4 (ND 0.6) will increase that to 4 seconds, and an ND8 (ND 0.9) will stretch it to 8 seconds.
Keep in mind that a photographer can ‘stack’ ND filters, or use one on top of the other to increase the effect. These filters can often be purchased in sets of 3, with one filter each to cut 1, 2 or 3 stops. This gives you a multitude of options anywhere from 1 to 6 stops of light intensity being cut. However, with each filter added, tiny imperfections and losses of sharpness will also be increased. Every additional piece of glass in front of your lens will have an effect on your image.
 What about Variable ND Filters
One possible alternative to a full set of ND filters is to purchase a single Variable ND filter. These allow you to attach one filter to the front of your lens and rotate the front element to dial in your intensity level. This is a very popular choice among indie filmmakers and documentarians, allowing them to adjust exposure on the fly while maintaining a consistent shutter speed and aperture.
A variable ND filter can save a lot of time and hassle by letting the shooter avoid having to unscrew and screw on another filter or two of a set value. While technically two pieces of rotating glass, it can also cut down on the possibility of multiple filters reducing your image quality.
This may not be the best option for everyone, however. Variable ND filters do have their limits with how much light they can effectively reduce. Some shooters find that cheap variable ND filters can cause significant color casts or a distinct ‘X’-shaped pattern on their images when pushed to the maximum value. Ultimately it’s up to the individual photographer to decide which style better fits their workflow.
 Graduated ND Filters
While browsing around our site for ND filters, you may stumble upon something called a ‘Graduated Filter’. Typically these are half clear and half dark, with a gradient in the center of the filter. In the days before digital post-processing became commonplace, these were often used to darken areas that were too bright for the image. By applying a graduated ND filter to the image, one could subtly lower the exposure of a blown-out sky in order to get more cloud detail in a landscape photo.
Older lenses sometimes came with a center filter, which darkened in the middle, in order to combat vignette and allow a more consistent exposure from corner to corner.
Today’s digital sensors are much easier to work with when trying to combat this clash between over- and under-exposed areas of your image. It’s easier than ever to apply a gradient or correct for lens vignette using editing software. Still, if you find yourself with a sky so bright that it falls beyond your camera or film’s sensitivity, you could be losing a lot of detail in the overexposed areas. For those who like to do things manually and get it right in-camera, KEH still carries these graduated filters.
 Polarizers
A polarizer may be the most important type of filter a photographer can have. If you’ve ever had a pair of polarized sunglasses, you may already be aware of the power of these filters.
Through complicated physics and a bit of what I’m convinced is ancient dark magic, a circular polarizer effectively cuts down unwanted light reflection by only allowing certain angles of light through. This can have a greater impact than you may realize.
One of these filters can cut down reflection from pools of water and windows, allowing you to see through the glare. Skies may look more deeply blue after eliminating some of the glare from the atmosphere. Green foliage can look richer in landscapes due to the bright sheen of the leaves being cut down. Even portraits can be improved with better skin tones and saturation by reducing the shine from sweat or oils that you may not have initially known were there.
Occasionally, circular polarizers can cause weird artifacts in windows treated with special anti-reflective coatings. The rainbow patches or uneven blotches in some glass should be something to watch out for. Keep in mind that polarizers also tend to have trouble with ultrawide-angle lenses. Ultrawide lenses tend to bend the way that light enters the lens, and all those funny angles can create havoc when the polarizer tries to reduce light from certain angles. In fact, anything wider than a 28mm equivalent lens will start to show uneven exposure with a polarizer. If you’re shooting ultrawide landscapes, you may be better off without one.
Note: If you’re interested in learning the difference between Linear Polarizers and Circular Polarizers, check the comments below. Otherwise, it’s safer to just go with a Circular one over a Linear.
Remember those variable ND filters I mentioned earlier? They are actually constructed by using two opposite-facing polarizing filters which, when rotated, cancel out each others’ light transmission. The unfortunate X-patterns created when the polarizers are pushed to the extreme limits are caused by the same light-bending seen on ultrawide-angle lenses.

This should help to de-mystify some of the most common filters that affect your basic exposure. Subscribe to our newsletter to catch the next entry in our filter guide where we’ll talk about color filters. I’ll tell you a bit about how they can enhance certain spectrums for supreme nature shots, affect contrast in black & white photography, allow you to shoot during the day with a nighttime-balanced film, and more.
Filters featured in imagery:
Singh-Ray 77mm Vari-ND Thin Filter
Singh-Ray 77mm MOR-SLO 10-Stop ND Filter
Singh-Ray 4×6″ Galen Rowell ND-3G-SS Graduated ND Filter
Singh-Ray 4×6″ Daryl Benson ND-3 Reverse Graduated ND Filter
Vu 105mm Ariel Circular Polarizing Filter
Mamiya ZE702 Swinging Polarizing Filter For Mamiya 6 & Mamiya 7

